QCX is a feature-packed, high performance, single-band 5W CW transceiver kit, with WSPR beacon and built-in alignment/test equipment. Available for 80, 60, 40, 30, 20 or 17m bands. It has rotary encoder synthesized tuning, VFO A/B/Split, Iambic keyer, CW decoder, and more… Detailed info can be found at https://www.qrp-labs.com

The QCX kit includes a 2 x 3-pin standard AVR header for In-Circuit-Programming on the board and uses ATmega328 chip. Time to time QRP Labs provides firmware upgrades. Latest updated firmware is 1.09a and existing QCX units can be upgraded. You can check the latest firmware announcements and history from https://www.qrp-labs.com/qcx/qcxfirmware.html
QRP Labs also offers latest firmware Atmel chip. Although the price is quite affordable you have to wait a while to receive it by postal service unless you live in Turkey. You can order it from here: http://shop.qrp-labs.com
If you don’t want to wait you can upgrade your QCX easily by yourself. This guide is for Windows users but if you’re using Windows computer click here.
For Linux, terminal command below can be used in Linux computers after downloading avrdude tool.
There is an alternative upgrade guide using Arduino Uno. CLICK HERE for a tutorial written by Simon VK3ELH on how to use an Arduino UNO and the AVRDudes to update your QCX firmware.
Requirements
- Software
- MacOS Xcode development environment app (free to install on MacOS)
- brew installer / homebrew (free to install)
- avrdude (free to download)
- latest OCX firmware (free to download)
- Hardware
- USBasp device with 10 pin to 6pin adaptor (Arduino device also can be used but requires some more experience)
 |
|
(USBasp device can be used without 6 pin adaptor but you should match the pins on the cable. Its cheap, I suggest getting the full kit as seen in above picture.)
Firmware Upgrade Procedure
Step 1: Install Xcode App
xcode is MacOS development environment and if you haven’t installed Xcode yet you should install that first. If you have it already in your Mac continue with Step-2.
To install xcode you can open App Store in your Mac and search for xcode or click on following link: https://apps.apple.com/us/app/xcode/id497799835?mt=12
Once you installed xcode you may need to restart your computer a few times. Once completed continue from Step-2.
Step 2: “avrdude” installation
- Press
Command+Spaceand type Terminal and press enter/return key. - Run in Terminal app:
ruby -e "$(curl -fsSL https://raw.githubusercontent.com/Homebrew/install/master/install)" < /dev/null 2> /dev/null
and press enter/return key. Wait until installation is complete. This will install homebrew package installer for MacOS.
- In Terminal app write following command and press enter/return key.
brew install avrdude
Done! We can now use the avrdude
Step 3: Download latest QCX firmware
Click https://groups.io/g/QRPLabs and get final version. If you see logon page you have to sign in first, if you don’t have account there you need to register first.

Currently v1.09a is available and you can click here to download directly. If newer versions available I will update the direct link accordingly. (Please inform me if I missed the newest version)
Step 4: Preparing QCX and USBasp device
Connect your USBasp programmer device to the pins accordingly as shown in the picture below


Step 5: Flashing the new Firmware
- Unzip the firmware file in your Desktop (or somewhere else)
- Press
Command+Spaceand type Terminal and press enter/return key. - Goto the firmware folder (for Desktop cd ~/Desktop)
- Run in Terminal app and write following and press enter/return key.
avrdude -c usbasp -p ATmega328p -e -v -v -U flash:w:"T1.09a.hex":i
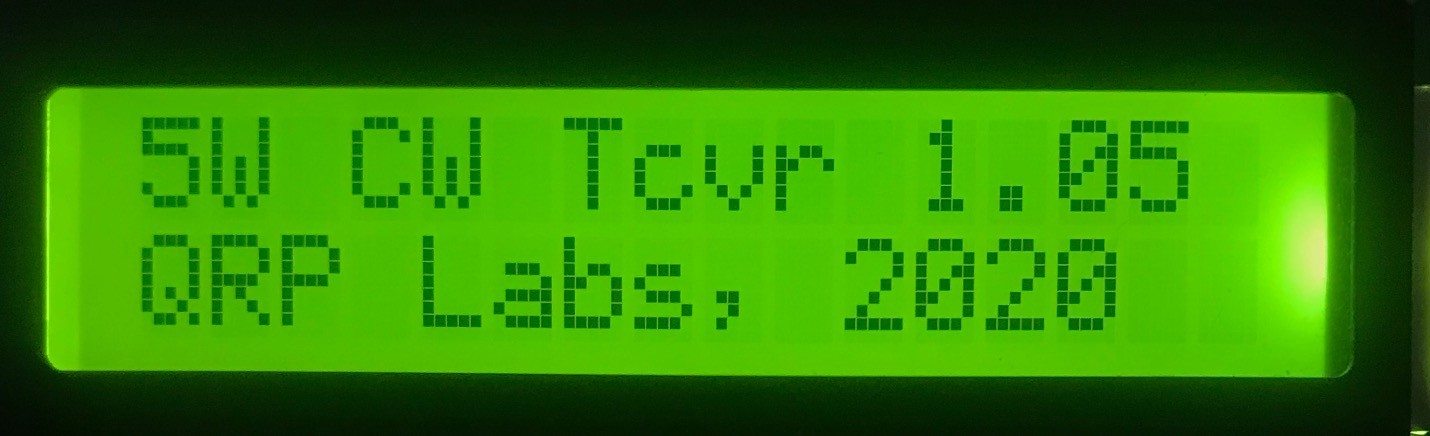
Wait until the firmware uploading is complete. It should take around 20-30 seconds.
Then restart your QCX and you verify the firmware version on initial boot screen.